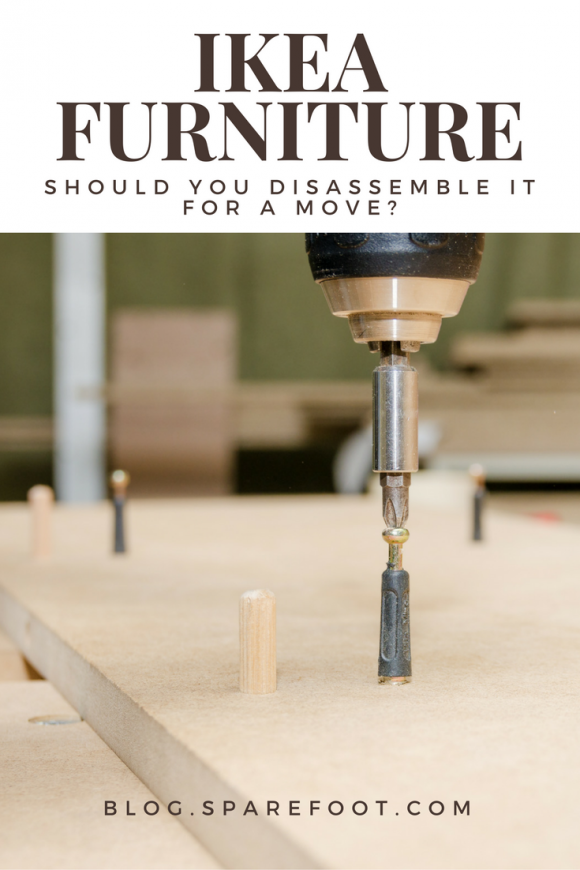
Who can resist the allure of stylish, budget-friendly furniture that’s as fun to assemble as a 1000-piece puzzle? Whether you are a college student jazzing up your dorm or a family furnishing your suburban dream home, IKEA has become an integral part of our lives.
But what happens when you have to move?
Well, that is where things get a tad tricky. Whether it’s losing that teeny-weeny screw or figuring out how to disassemble a couch without it collapsing, moving IKEA furniture can turn into a real-life Tetris challenge.
If you don’t know where to start, we’ve got some handy tips for moving IKEA furniture and are here to help you handle it like a pro. Ready to take the hassle out of moving? These are the steps you should take.
Step 1: Assess the State of Your IKEA Furniture

Before you start packing up, take a good look at your IKEA pieces. Are they as ready for this move as you are?
Tom Nolan, a home improvement expert and founder of All Star Home, has worked with many clients who have moved in and out with IKEA furniture. Nolan says to consider the material and age of your furniture to decide whether it’s worth keeping as not all of IKEA’s units are created equal.
“Furniture made of delicate particle board or older pieces should be handled with care,” he said. “They might not be the best candidates for a move.”
On the other hand, stronger elements, made with solid or pressure-treated wood, plastics and metal should pose fewer problems. You should still keep an eye out for any fragile or delicate components.
So, take some time to assess your IKEA furniture. Make a list of what needs to be disassembled and what can stay intact. Your future self, safely relaxing in your reassembled Poäng chair, will thank you.
Oh, and if you’re unable to move the furniture to your new home or if you just don’t want the piece anymore, see if you qualify for IKEA’s buy-back program. IKEA is also known for its generous return policy. If you have the receipt and have owned the item for less than a year, it is likely returnable.
Step 2: Gather Necessary Tools and Supplies
You’ve got your IKEA furniture sorted and you know what you’re dealing with. What’s next? Here are some essential items you’ll need for a successful IKEA move:
Tools for disassembly and reassembly:
- A set of screwdrivers (Phillips and flathead)
- Allen wrenches (IKEA typically includes these with their products)
- Rubber mallet (for those stubborn pieces)
Essential packing supplies:
- Bubble wrap (to protect delicate parts)
- Stretch wrap (to secure doors and drawers)
- Furniture pads or moving blankets (for extra protection)
- Sealing tape
- Ziplock bags (for small hardware)
- A permanent marker (for labeling)
Missing a screw or peg? Good news, IKEA is usually pretty good about providing spare parts. You can often get spare parts directly from their customer service, either in-store or online.
Step 3: Disassembling IKEA Furniture
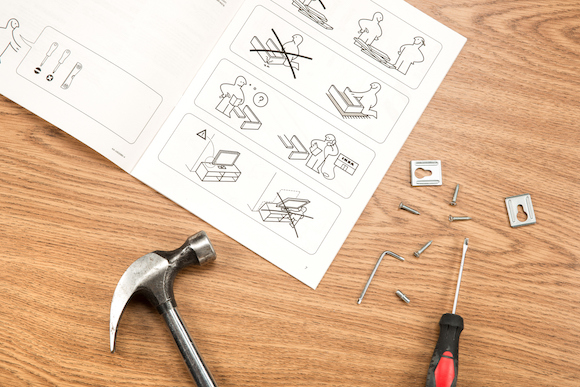
Learning how to disassemble IKEA furniture might feel like doing a jigsaw puzzle backward, but with a few smart strategies, you’ll have your furniture ready to move in no time. Here’s how:
- Start by locating the assembly instructions. If you’ve lost your directions from when you first assembled the furniture, you can find them on IKEA’s website or go into the store to get them. Simply access the product page, scroll down to Product details and download the instructions in the ‘Assembly & documents’ section.
- This is how you disassemble IKEA furniture in a nutshell: reverse assembly. Yes, it’s as simple as that! Start with the last page of the instructions and work backwards.
- Use painter’s tape to label each part of the piece of furniture – this will come in handy when you need to reassemble it.
- Keep track of every piece of hardware, from screws to wooden dowels. You can throw all of the pieces baggies or tape them directly to the back of the boards—or better yet in a baggie and taped to the back of the board!
Keep in mind that disassembling your IKEA furniture can take longer than you think, especially for complex pieces.
Note: Avoid disassembling parts that are nailed together, like backboards. If you have no other choice, do as little damage to them as possible. Without a backboard, the frame lacks support and can easily warp during transport, so you should fully disassemble it too. In some cases it may be necessary to keep some pieces attached, as separating them would damage the integrity of the item.
Step 4: Packing and Protecting IKEA Furniture
Now that it is carefully disassembled, it’s time to start packing IKEA furniture for the journey. Proper packing isn’t just about making things fit; it’s about protecting your beloved items from any mishaps during the move.
Note that different furniture pieces require different handling techniques:
- Flat-pack items: Use the original flat box if you still have it, or any large, flat cardboard piece. Place bubble wrap between each piece to prevent scratches.
- Smaller components and hardware: Store in sealable plastic bags. Label each bag with the furniture’s name and a brief description of the contents.
To protect fragile surfaces and corners when packing IKEA furniture, use:
- Stretch wrap: Your best friend when it comes to protection! Wrap all glass components and fragile parts securely to hold them in place. Bubble wrap can be used for extra protection if needed.
- Moving blankets or furniture pads: Wrap larger pieces, especially those with vulnerable corners and surfaces, to avoid dents or scratches.
Step 5: Safely Transporting IKEA Furniture
Now that your IKEA furniture is disassembled and packed, it’s time for the big move. But how do you ensure everything gets to your new home without a scratch? Here are some key pointers:
- Choose the right vehicle and equipment: Selecting the appropriate vehicle is crucial. Remember to check the dimensions of your largest item and ensure your vehicle can accommodate it. Don’t forget about moving equipment. Furniture dollies can be real lifesavers for heavier items.
- Load and secure furniture: Start with larger, heavier items, followed by lighter ones. Distribute the weight evenly across the vehicle for stability. Once everything’s inside, use straps or bungee cords to secure your items and prevent them from shifting during transit.
- Protect your furniture: Even inside the vehicle, your furniture needs protection. Use additional moving blankets or pads to stop pieces from rubbing against each other. And remember, transporting furniture is not a race. Drive carefully, especially over those pesky speed bumps and potholes. They can be harsh on IKEA pieces, which are often made of easily dented materials.
Step 6: Reassembling IKEA Furniture
You’ve made it to your new home and all your IKEA furniture has arrived in one piece — well, several pieces. But don’t worry, you’re about to triumph over the final step of this journey: reassembling your IKEA pieces. Let’s get started:
- Start with the instructions: Remember those assembly instructions you followed in reverse when disassembling? It’s time to bring them out again. Following IKEA’s instructions closely ensures each piece goes back where it belongs.
- Lay out your pieces: Spread out all the parts of your furniture on a clean, flat surface. This gives you a clear view of everything and makes it easier to pick out the pieces you need.
- Check for stability: After your furniture is assembled, give it a little shake to ensure everything is secure. All joints should be tight and flush and surfaces should be level.
- Troubleshoot if necessary: If something doesn’t fit quite right, don’t force it. Check the instructions again or look for solutions online. Remember, IKEA furniture is designed to be user-friendly. With a little patience, you’ll figure it out.
Note: Let’s circle back to the nailed backboards we mentioned in the disassembly step. If you took them apart then, make sure you don’t hammer in nails in the same places as they were before!
Utilizing IKEA Assembly Services
Sometimes, the prospect of piecing together IKEA’s puzzle-like furniture can be a tad overwhelming, especially when you’re also managing a move. That’s where IKEA’s assembly services step in!
IKEA has formed a dynamic duo with TaskRabbit, providing you with an alternative solution if you’re short on time or simply don’t fancy battling with an Allen wrench. This service connects you directly with assembly pros, known as ‘Taskers’, who are skilled in the fine art of IKEA furniture assembly. They will even secure items to the wall if required.
Booking your assembly is a piece of cake. Simply head over to the TaskRabbit platform, choose your items that require assembly, pick a Tasker whose qualifications and rates suit your needs and select a date and time that works for you. It’s fast, easy and can be done up to 14 days in advance.
Finishing Touches
Navigating a move with IKEA furniture might seem like a life-sized game of Tetris, but remember these key moving tips:
- Evaluate what’s worth the move.
- Round up your tools and supplies.
- Disassemble, organize and label your furniture parts.
- Pack thoughtfully and thoroughly.
- Transport with care and strategy.
- Reassemble with patience and precision.
- Don’t be afraid to call in the experts.
Stay organized, plan ahead and remember — even the trickiest IKEA furniture puzzle has a solution. For a quick visual guide, check out our helpful 2-minute video with tips for moving IKEA furniture.
You’ve got this. Good luck with your move!